


Thursday, October 6, 2011


Wednesday, October 5, 2011
Penny Black Halloween


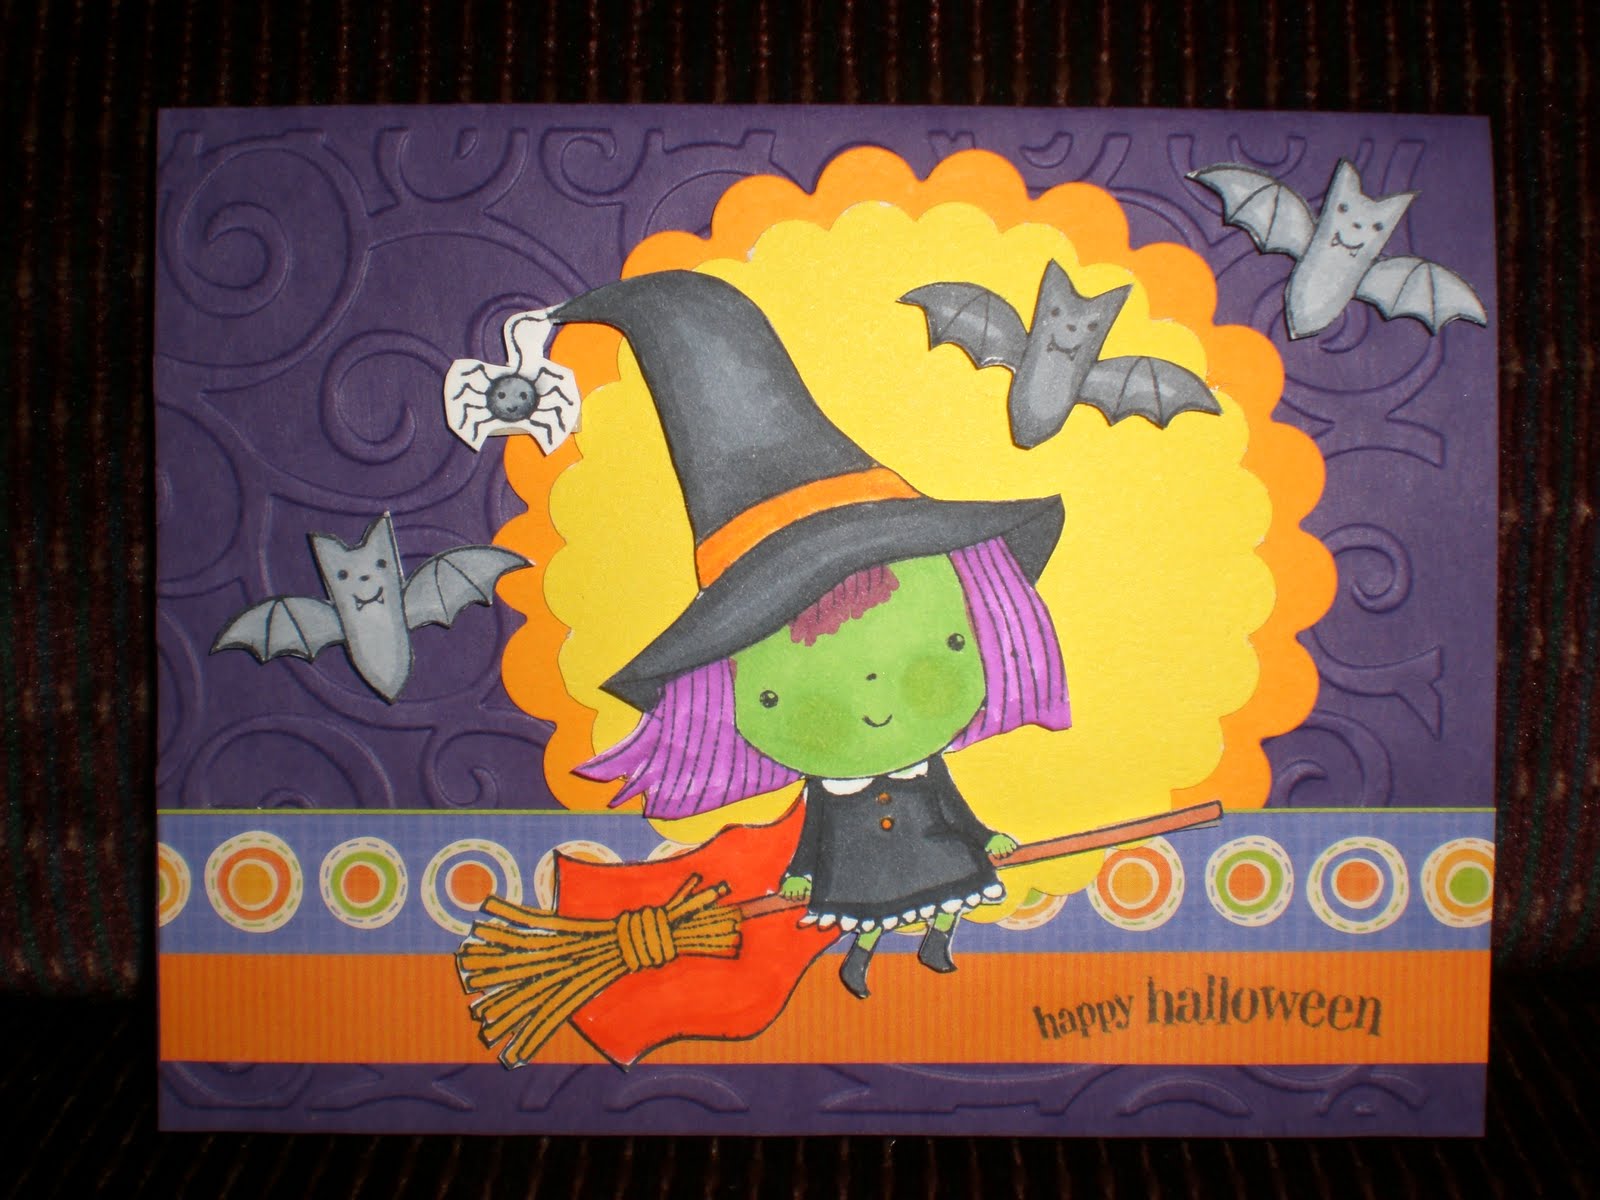


These were stamped with the new Penny Black Halloween Transparent sets: Mimi Halloween and Halloween Treats. I used copic markers to color them. The patterned papers were from DCWV. I used various scallop punches from Marvy and a Martha Stewart Ghost Border punch and a tag from Spellbinders. I embellished with ribbons and Baker's twine and used Stickles to add some bling! Enjoy!
Tuesday, October 4, 2011
Stampendous JUMBO Stamp Sets
When Eva put out a call for samples for some stamp sets she had in the store, I volunteered, and said, sure, I can help out. She warned me that these were large sets. Well, hey, what's large to one person is not necessarily large to someone else, right? LOL! She said they were about 4 inches square. OK, that didn't sound too bad. So I had her send me four sets. Was I surprised when they arrived. Large is not the right word....JUMBO really doesn't describe them either, they are HUGE!!!! So my first thought was that I would absolutely need to make larger than our normal A-2 sized card. Holy mackeral.........all dimensions had to be altered to accommodate these stamp sets. But I had to think "outside the box" and once I had the first one made, the rest came easy. Then the hard part was deciding what style of card to make. These sets called for "special" cards. So here is what I came up with. Enjoy, and give yourself the opportunity to try out these JUMBO stamps. They make wonderful cards.
This first card is from the set CRS5013 "Merry Magical", stamped on red card stock with Versa Mark ink, using white embossing powder for the white swirls first (do not heat set yet), then stamp the Merry and Magical words with Versa Mark ink and gold embossing powder, emboss all at once. Then add a white bow, and a white panel behind the red card. No coloring involved.

The next card is a pop up box card using the set CRS5016 Pine Drift. First cut the green card stock for the box and stamp the outside using white craft ink from Stampin' Up; stamp the tree using Momento Tuxedo Black ink onto white card stock. Cut out the tree, color it using Copic markers #R24 Prawn, #G07 Nile Green, and #G17 Forest Green. Assemble the box according to directions found at Split Coast Stampers, and add words (computer generated) to the top of box, and add white ribbon to front of box. Don't forget to punch out a star from gold card stock for the top of the tree.


The third card is a center step card using CRS5018 Snowfall Pair. Image is stamped on white card stock and colored using Copic markers B00 Frost Blue, B02 Robins Egg Blue, Y38 Honey, Y17 Golden Yellow, YR07 Cadmium Orange, and E93 Tea Rose. Mount white panel onto lavendar panel, then onto turquoise center panel of step. Stamp snow swirls using Memento Tuxedo Black ink onto white card stock, cut out, and mount to side panels and front panel of step. Words are computer generated, cut out, mount on lavendar and turquoise card stock. Add glitter to snow swirls and add a lavendar panel inside of center step to write your message on.

The fourth and final card uses the stamp set CRS5026 Peace Dove. Make a card 5 1/2" x 6 1/4". Fold white card with a 1 1/2" right edge. Mount turquoise panel on outside. Before adding inside panel, make a tab for buckle closure. Mount behind inside panel, then adhere inside panel to card base. Using a word punch from Stampin' Up, or other long oval punch, punch hole for buckle closure. Stamp Dove on white card stock using turquoise ink for bird, and green ink for olive branch. Stamp a small white piece of card stock using turquoise ink and center of bird. Adhere to turquoise buckle. Cut out bird, mount with foam tape to card front, then cut out olive branch and glue to bird's beak. Stamp using Versa Mark ink swirls from Pine Drift set, CRS5016, draw over lines with Zig two way glue, add loose glitter to swirls. No coloring involved. On this card, I stamped the second part of CRS5026, "Peace" inside using Momento Tuxedo Black, then added swirls with glitter as previously described.

Once I started thinking outside the box, these were a lot of fun and I will be making more.
Subscribe to:
Posts (Atom)